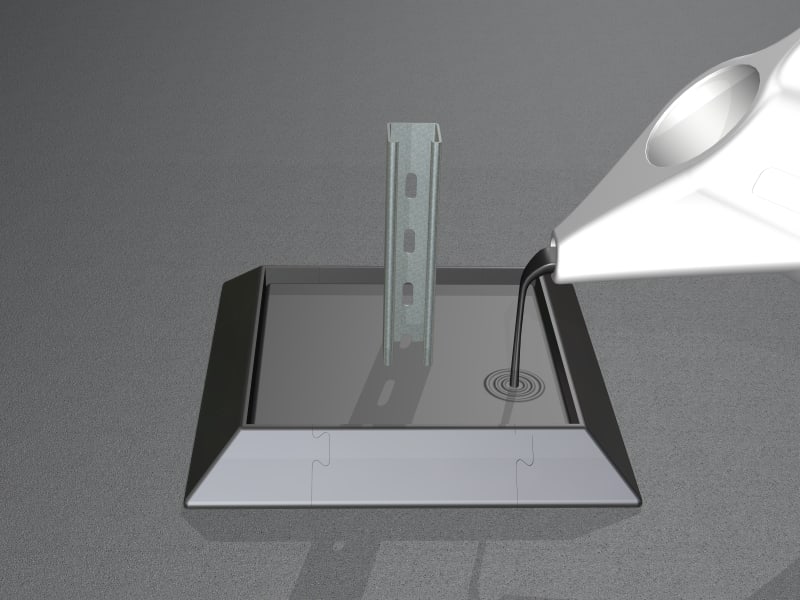
How to install PipePocket™
- Read time: 3 minutes
- Date: 07 Aug 2019
- Flat Roofing
Perfect for sealing around awkward penetrations such as steel I beams, PipePocket™ is available in pre-fab, kit form and individual components – for a quick and easy installation, saving time and money.
The formers are manufactured from polyurethane elastomer, which absorbs stress and remains flexible, PipePocket™ is assembled on site and filled with fast setting solvent-free multi-use sealer – watertight within minutes.
Not suitable for use on timber decks due to possible shrinkage of the timber.
How to install
Ensure the substrate is dry and clear of any loose gravel, dust granules or any foreign substances that can affect adhesion.
The PPR 5000 (Parts A and B) should be kept at room temperature prior to use.
PipePocket™ is suitable for use on felt and asphalt systems; for any other applications please consult our technical department or the membrane manufacturer for compatibility.
PipePockets should not be be installed or used in temperatures below 5C, and are unable to accommodate any movement between the finished base and the deck where installed.
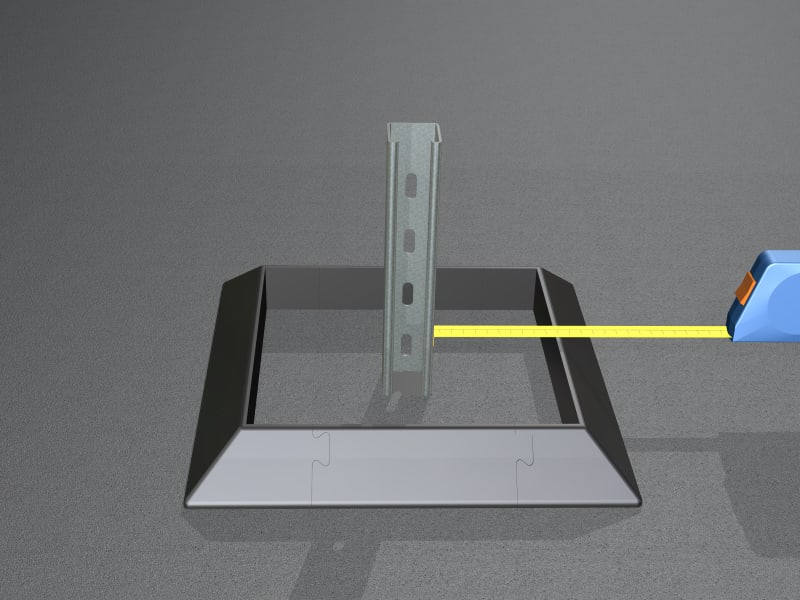
1. Place PipePocket™ with at least 20mm clearance between inside of pocket and penetration.
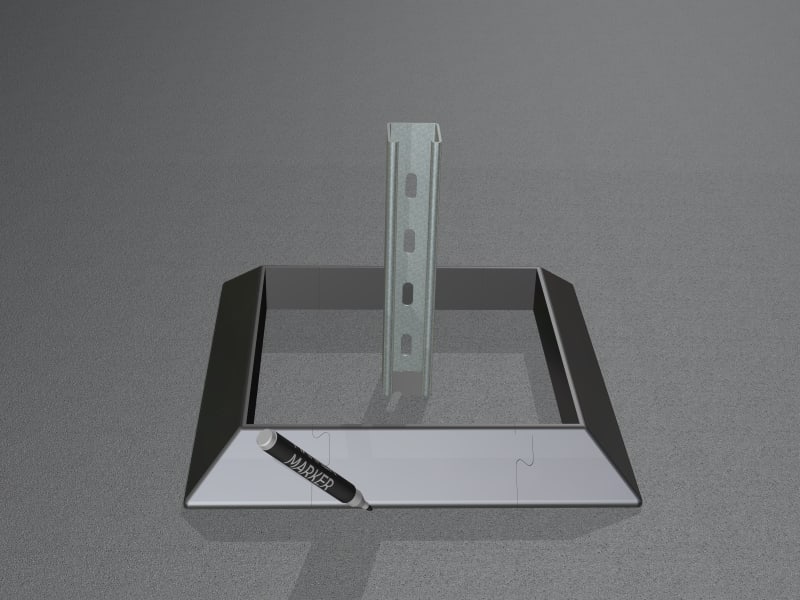
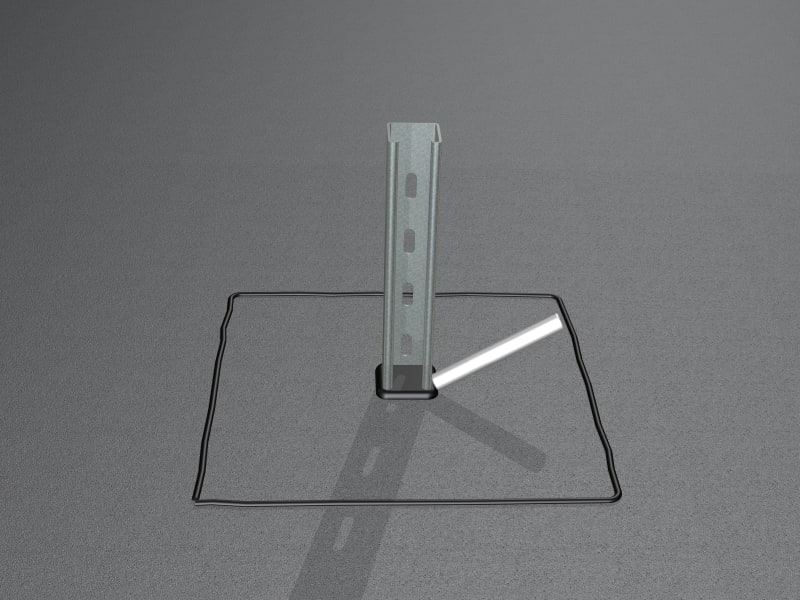
2. Mark around the outside edge of the PipePocket™ for reference.
3. Seal the base of penetration with SeeLex® BI, and apply a liberal bead to the substrate.
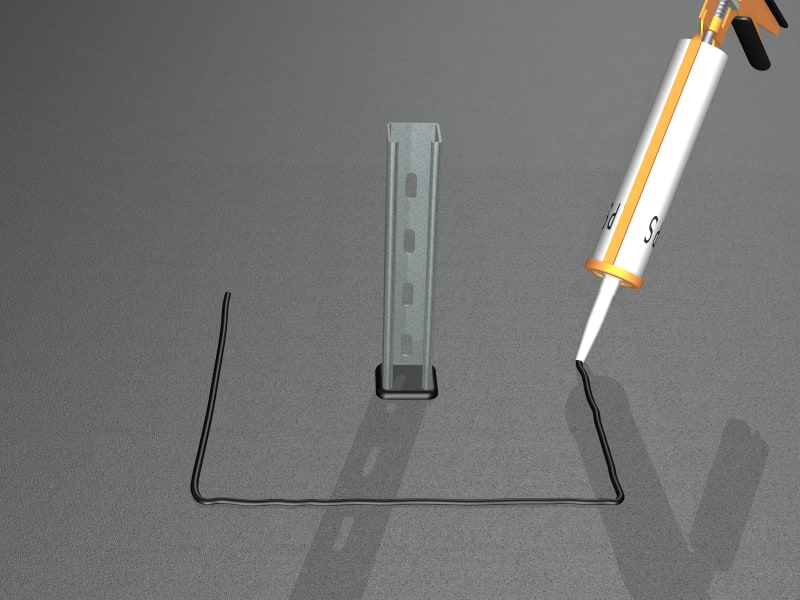
4. Ensure the base of the penetration is sufficiently sealed.
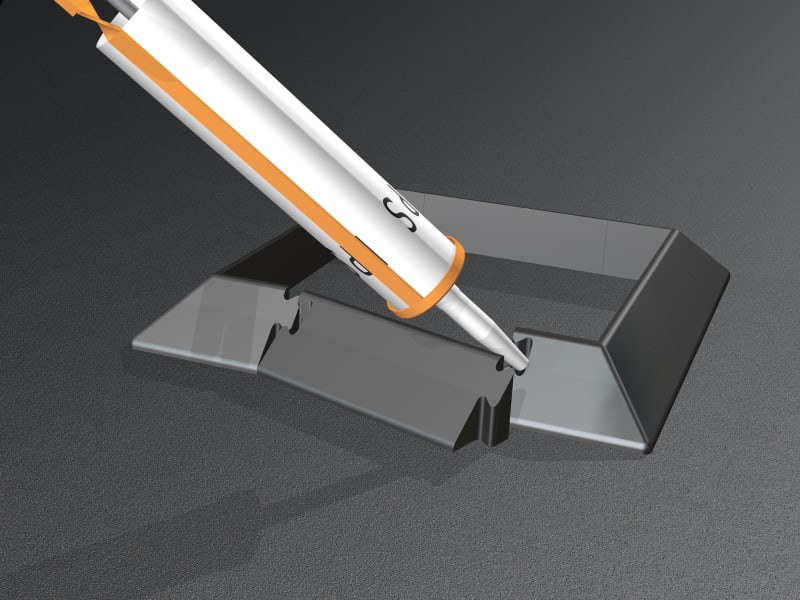
5. Apply SeeLex® BI sealant into the joints of the PipePocket™.
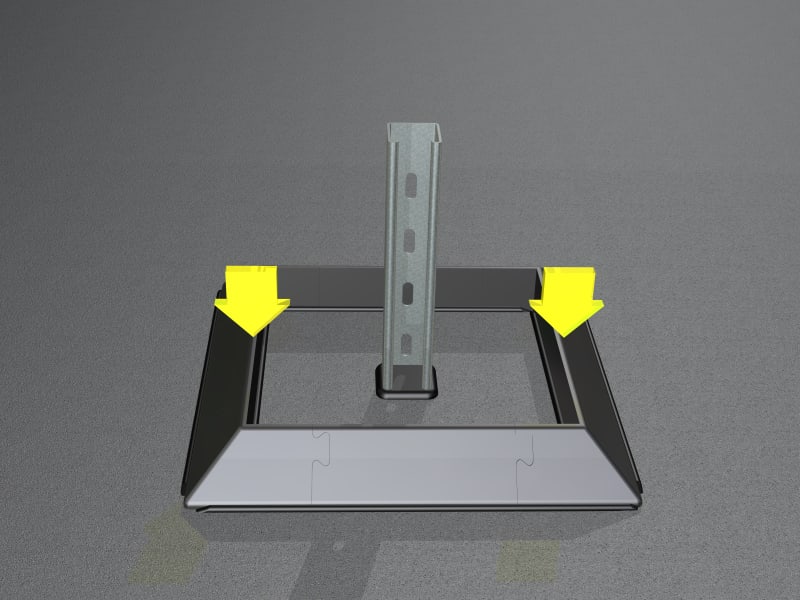
6. Set the PipePocket™ in place. Apply equal pressure to ensure positive contact with the substrate.
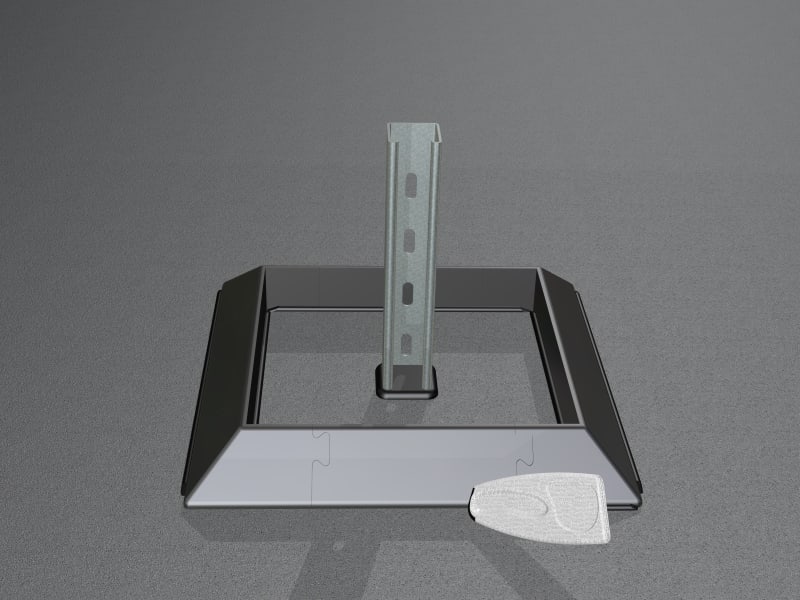
7. Wipe away any excess sealant.
8. Pour contents of PPR-5000 (Part B) bottle into PPR-5000 (Part A) tin. Thoroughly mix the two components for 3-5 mins using PPR-WHISK with a power drill.
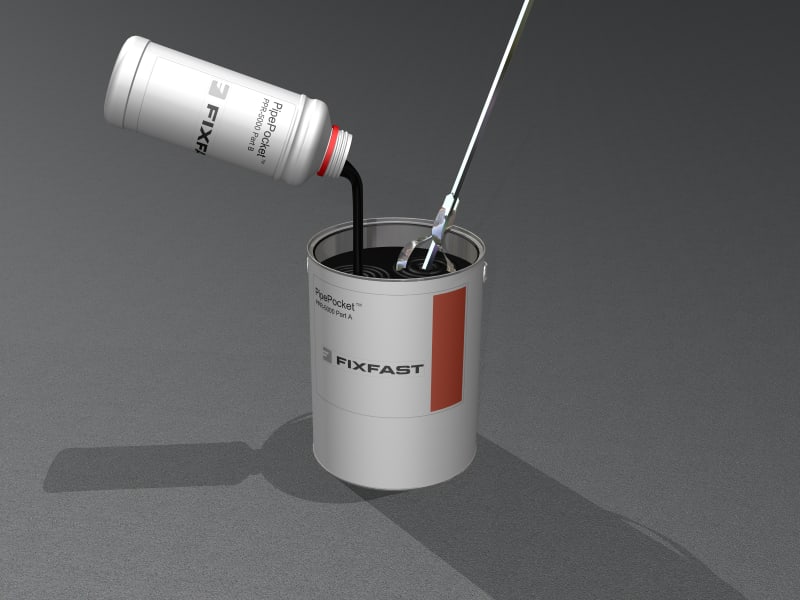
9. Dispense PPR 5000 into assembled PipePocket™ using PPR-JUG until full.